We’ve talked before about how fresh produce is a beat-the-clock race for a lot of smaller households. Fresh vegetables are important, but they do turn into sludge faster than many of us can get through them. If you want to win at produce, you need some food preservation strategies. One of the easiest of these is freezing vegetables.
Frozen vegetables are very nutritious and usually affordable. Unfortunately, issues in the supply chain during this pandemic have made storebought frozen vegetables a bit of a hot (heh) commodity. The first time I went to Aldi during the early, early days of COVID-19 warnings, the freezer case was completely empty. It was startling. Tumbleweeds could have rolled through, unimpeded.
Since then, my local market has consistently had a few things, but not much variety. I’m trying to cut down even further on my grocery trips, which isn’t a problem except for the aforementioned produce issue. So it’s time for DIY Frozen Vegetables.
Most frozen vegetables benefit from a simple process–blanch, shock, drain, freeze. You can also cook them before freezing, but I prefer the versatility of a plain vegetable product. (Note: Tomatoes, winter squash, onions, and peppers don’t need blanching).
So here’s how you do it.
Freezing Vegetables: An Informal Guide
Unlike canning, freezing vegetables requires very little special safety information or equipment. Observe basic kitchen sanitation and you’ll be covered. (Wash your hands!)
You will need:
- Fresh vegetables
- A large pot
- Freezer bags or other containers (I like quart-sized)
- A strainer basket, colander, slotted spoon, or sense of adventure and ingenuity
1. Wash

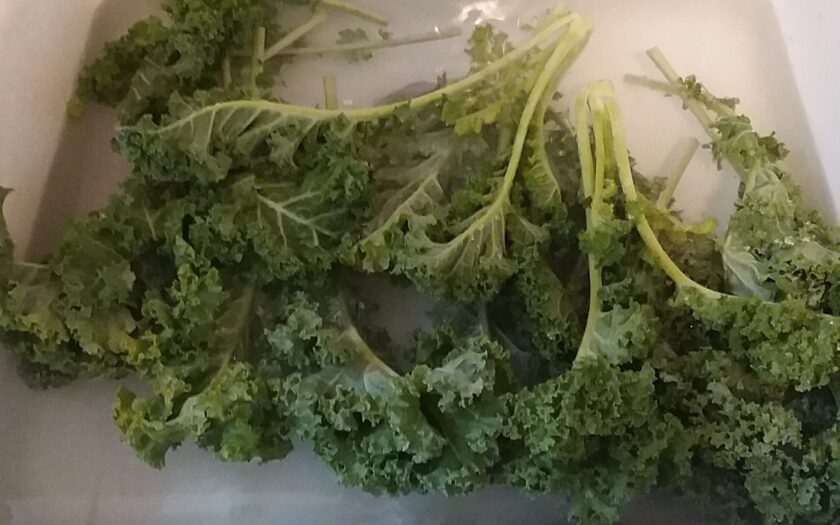
Fill your sink with cool water, and swish the vegetables around. Rinse and drain.
2. Blanch
Blanching stops enzymes that degrade the quality of your veggies, even when they’re frozen. It’s very easy.
Bring a large pot of water to a boil.

Put the vegetables into the boiling water. A strainer basket is very useful here, but you can use tongs, a colander, or a slotted spoon.

Leave the vegetables in the water for 1-2 minutes (see notes) until wilted. Meanwhile, fill your sink with cold water. Throw a couple of ice cubes in to make it very cold.
3. Shock
Take the vegetables out of the hot water and immediately immerse them in the cold water. This will stop them from continuing to cook.
4. Drain
Remove the vegetables from the water, drain thoroughly. After allowing them to drip dry in the strainer for a bit, I transfer them to a towel-lined cookie sheet for extra drying.
5. Package
Label your freezer bag with the date and the vegetable. Fill the freezer bag to the marked line. Press out all air and seal. Put the package in the freezer. Voila, you’ve won in the race against both produce and time.

Notes
1. Honey, I Shrunk the Greens
Greens lose a lot of volume when you blanch them. For example, my two big bags of spinach filled the sink when raw, but cooked down to two quarts.


2. Blanch Time Varies
Greens are quick to blanch, other vegetables take a little more time. Check out the chart at the bottom of this page from the Center for Home Food Preservation for specifics.
3. Frozen Food Does Not Keep Forever
I know, I know, I wanted to completely conquer time, too. But freezing food doesn’t preserve it indefinitely. Most frozen vegetables are good for 8-12 months.
You Can Do It!
With a little time an effort, you can reduce your food waste and stretch your groceries between trips to the store. Stay safe and nourished, friends.
PS– Need ideas for what to do with greens? I’ve got a few.


My favorite instruction…
A strainer basket, colander, slotted spoon, or sense of adventure and ingenuity
Can you freeze kale?
Yes, this process is great for kale.