I’d like people to believe that I DIY a lot of stuff because I’m inventive and scrappy.
It’s really because I’m cheap.
For example, I have wanted a flannel full slip for a long time. I had one as a little girl, but finding one at all for an adult has been hard. More than that, the ones I can find seem a little pricey.
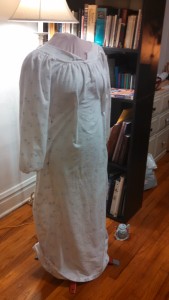
Enter a thrift store night gown. I was wandering the aisles of my favorite neighborhood thrift store, when I saw the most comfy looking nightgown. It was quite a bit too big for me, but the flannel was heavy and soft, and pretty. It was $3. “I could make a slip out of that,” I thought to myself.
And I did.
For this method of construction, one needs a dress form. Dress forms are another thing that are expensive. However, I’ve gotten around that, with the help of a good friend. Introducing, Cloris, the Wonder-Dress Form. Cloris was made on a giggle-filled winter day, when my friend and I got undressed, put on some trash bags, wrapped each other in duct tape, and then cut each other out of our created duct tape sarcophagi. We filled the empty shells with stuffing and newspaper and taped them up. Cloris is mounted on a paint roller extender and a Christmas tree stand. I covered her in calico so I could pin things to her. She has revolutionized my garment construction process.

That said, it would have been a lot faster to use a pattern. But I didn’t have one. So I winged it, as follows:

- I washed the nightgown thoroughly.
- I threw it on Cloris, inside-out.
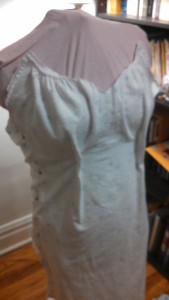
- I pinned in some darts. I basted them, I tried them on Cloris, I liked them, I stitched them down.
- I started cutting out pieces I thought I didn’t need.
- Then I added some seams.
- Then I realized I needed some of the parts I’d cut off.
- So I sewed them back on.
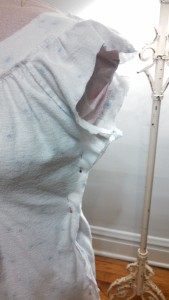
- Added straps.
- Added hooks.
- Added hems.
- Bound the seams.
- Holy cats, it’s a slip!

It is so cozy! And comfortable! And it cost all of $3! Hurrah!


So cool that you made that! And Cloris!
I never heard of flannel slips before but it sure does sound like a great idea.
I am interested to see if it will be as warm as I think it will this winter.